


Your dog deserves a cozy and comfortable space to rest, just like any member of your family. A well-crafted dog bed provides a safe, snug spot where your pet can unwind after a long day. But instead of buying a pre-made bed, why not create something personal, stylish, and eco-friendly with a DIY dog bed? Not only is this project a fun weekend endeavor, but it’s also an opportunity to repurpose old furniture while adding your creative touch.
In this guide, we’ll walk you through how to transform a small table into a chic four-poster bed for your dog. With basic tools and easy-to-find materials, this project is accessible even if you’re new to the DIY scene. Let’s explore the steps involved in creating a unique dog bed your pet will love!
Creating a Dog Bed
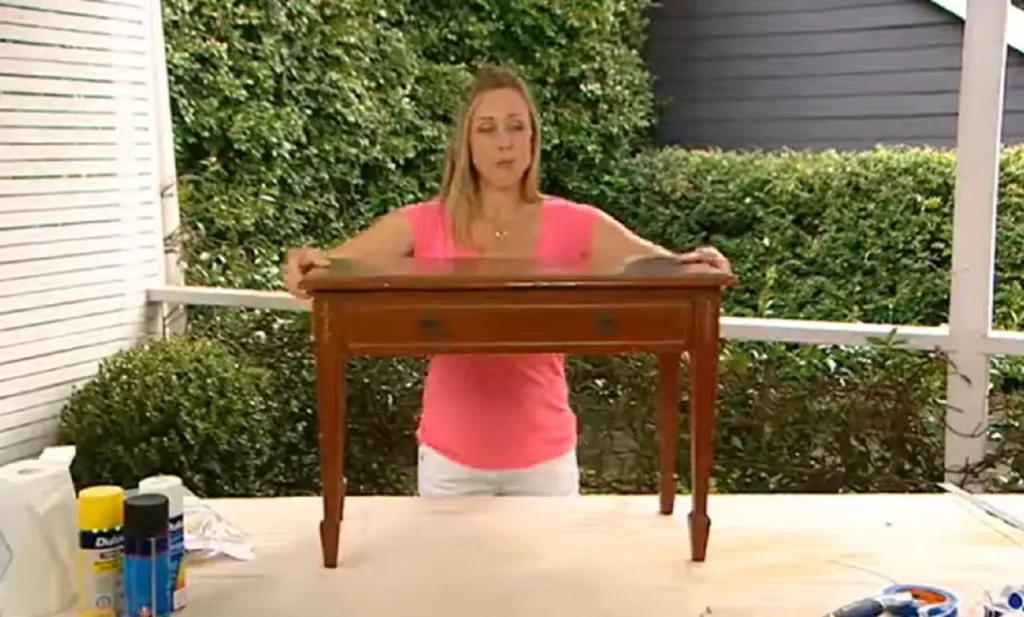
The heart of this project is taking a piece of furniture you no longer use—like a small, unused table—and flipping it into a stylish pet bed. This process is simple and budget-friendly, perfect for adding a personalized touch to your dog’s resting spot.
The transformation begins with choosing the right table. Make sure the table is sturdy, with four legs to serve as the base of your four-poster bed. If you’re working with a wooden table, consider one that’s easy to modify and suits the size of your dog. Smaller dogs might need petite tables, while bigger pups may appreciate more space.
Not all tables are created equal when it comes to making a dog bed. Choose a table that’s low and wide enough to comfortably fit your dog’s size. Thrift stores or garage sales often have inexpensive, small wooden tables that are perfect for this project.
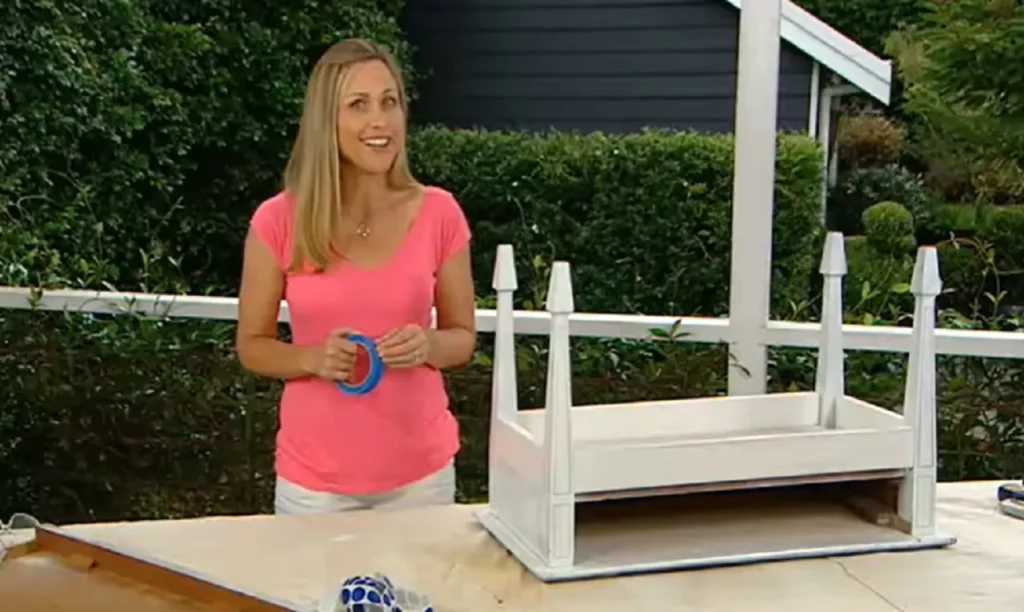
Once you’ve selected the table, flip it upside down so that the legs point upwards. These will act as the posts for your bed. You can add finials or decorative knobs to the ends of the legs for an extra touch of elegance, mimicking the look of a classic four-poster bed. This not only gives the bed a regal feel but also ensures it becomes a conversation piece in your home.
Building the Base To create a comfortable and sturdy base, you’ll need to cut a piece of plywood to size. This forms the foundation of the bed, and your dog’s cushion or mattress will sit atop it.
Measure the dimensions of your flipped table and cut a piece of plywood to fit perfectly within the frame. This will be the base that supports your dog’s weight. Precision is key here, so use a ruler and pencil to mark out your cutting lines before sawing.
After cutting the plywood, sand down the edges and all wood surfaces. Dogs love to chew, and you want to ensure there are no sharp edges or splinters that could harm them. A smooth finish also gives your bed a more professional, polished look.
Applying Stain Blockers A stained dog bed can be difficult to clean, especially if your pet spends a lot of time lounging on it. Applying a stain blocker protects the wood from moisture, dirt, and the occasional accident. It also ensures that the wood maintains its aesthetic appeal over time.
Stain blockers are essential to keep your dog bed looking fresh. These products create a protective barrier on the wood, preventing stains from seeping in. This is especially important if your dog likes to chew or scratch the bed, as it minimizes wear and tear.
To apply the stain blocker, use a paintbrush to evenly coat the wood surfaces. Make sure you’re working in a well-ventilated area. Let the first coat dry for a few hours, then apply a second coat for extra protection. Once fully dry, you can move on to decorating or adding the final touches to your dog bed.
The Perfect Dog Bed
By following these steps, you’ve created a stylish, comfortable, and personalized dog bed that’s perfect for your furry friend. From flipping the table to building the base and applying stain blockers, each stage of the project is straightforward yet rewarding. What’s great about DIY projects like this is the flexibility to customize them to your pet’s specific needs and your home’s aesthetic.
Don’t hesitate to get creative! You can choose fabrics that match your interior décor, add soft cushions, or even paint the bed to give it a modern twist. In the end, not only will your dog have a cozy place to sleep, but you’ll also have the satisfaction of knowing you built it with your own hands.
So grab your tools, pick out that old table, and start crafting the ultimate dog bed. Your pet—and your home—will thank you!


